NFT Drop Configuration
① Install & setup MetaMask
What is MetaMask?
MetaMask is a web browser extension and mobile app that allows you to manage your Ethereum private keys.
👀
Discover more about MetaMask.
Why do I need a MetaMask account?
Even though Drop Management works with different blockchains and can connect to wallets like Phantom or WalletConnect, our demo environment works with MetaMask and Etherium.
Connect MetaMask to our network
To access the Drop Management platform and configure your first drop, you need to connect your MetaMask account to our local network.
Follow these simple steps:
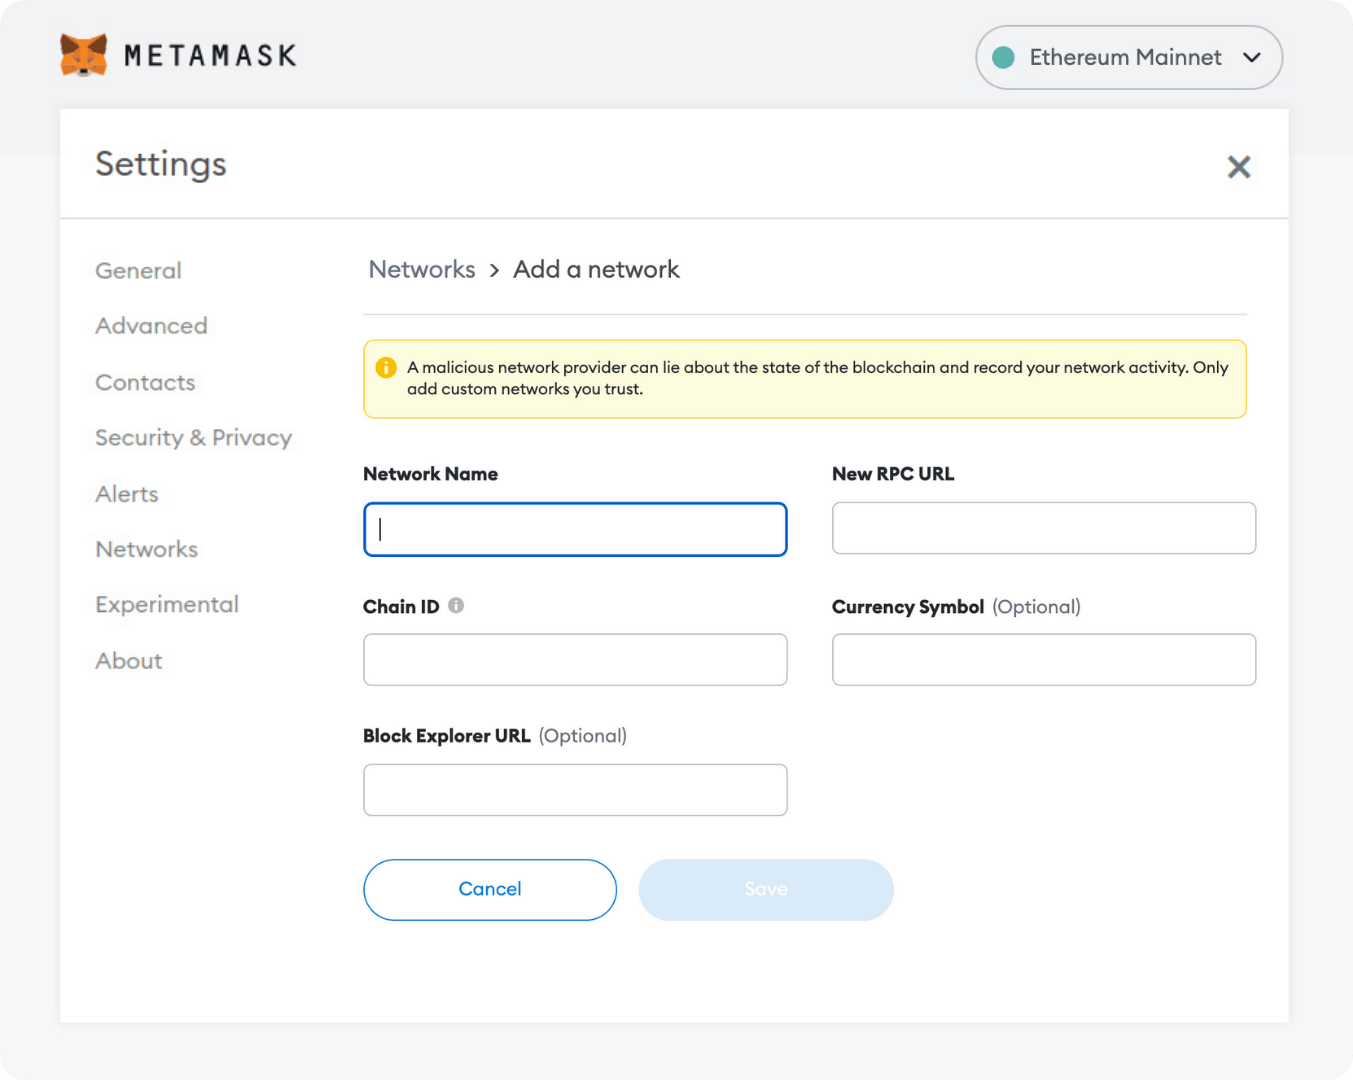
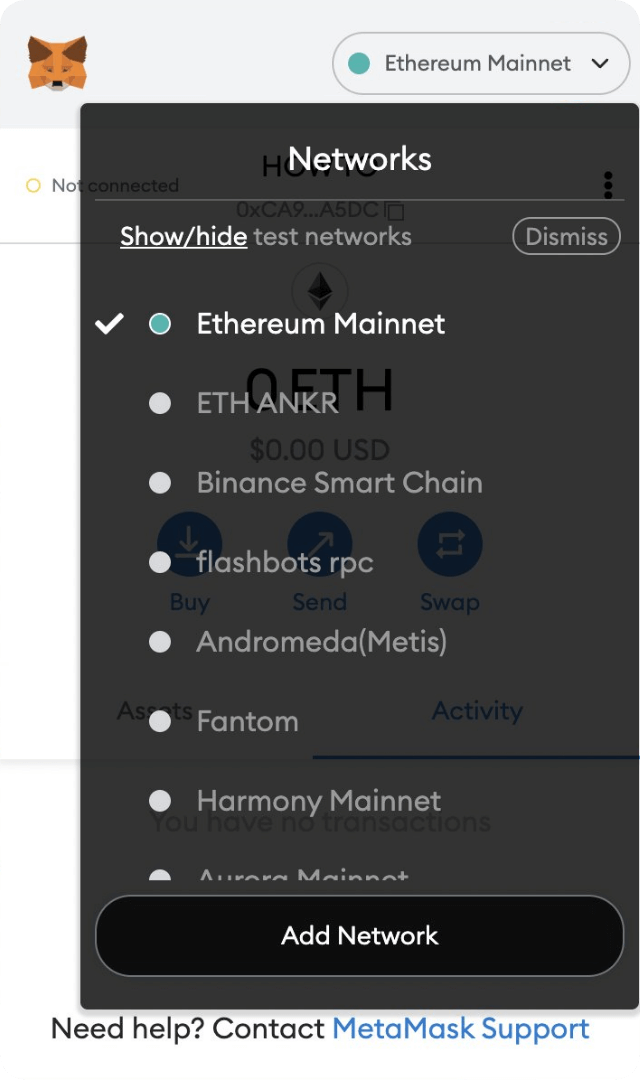
- Open MetaMask > Select Networks > Select Add Network
- Fill in the fields:
- Network name:
dSphere-Dev-Local - New RPC URL: https://trail-env.dsphere.io/dev-rpc
note
This URL is different depending on the environment a customer is assigned, example nft-trial1, nft-trial3 etc..)
- Chain ID:
1337 - Currency Symbol:
ETH
- Network name:
- Click Save.
② Download the NFT Drop Management software
Download for Windows
③ Login
After you've downloaded and installed the software, run it and log in using the credentials provided by the dSphere.
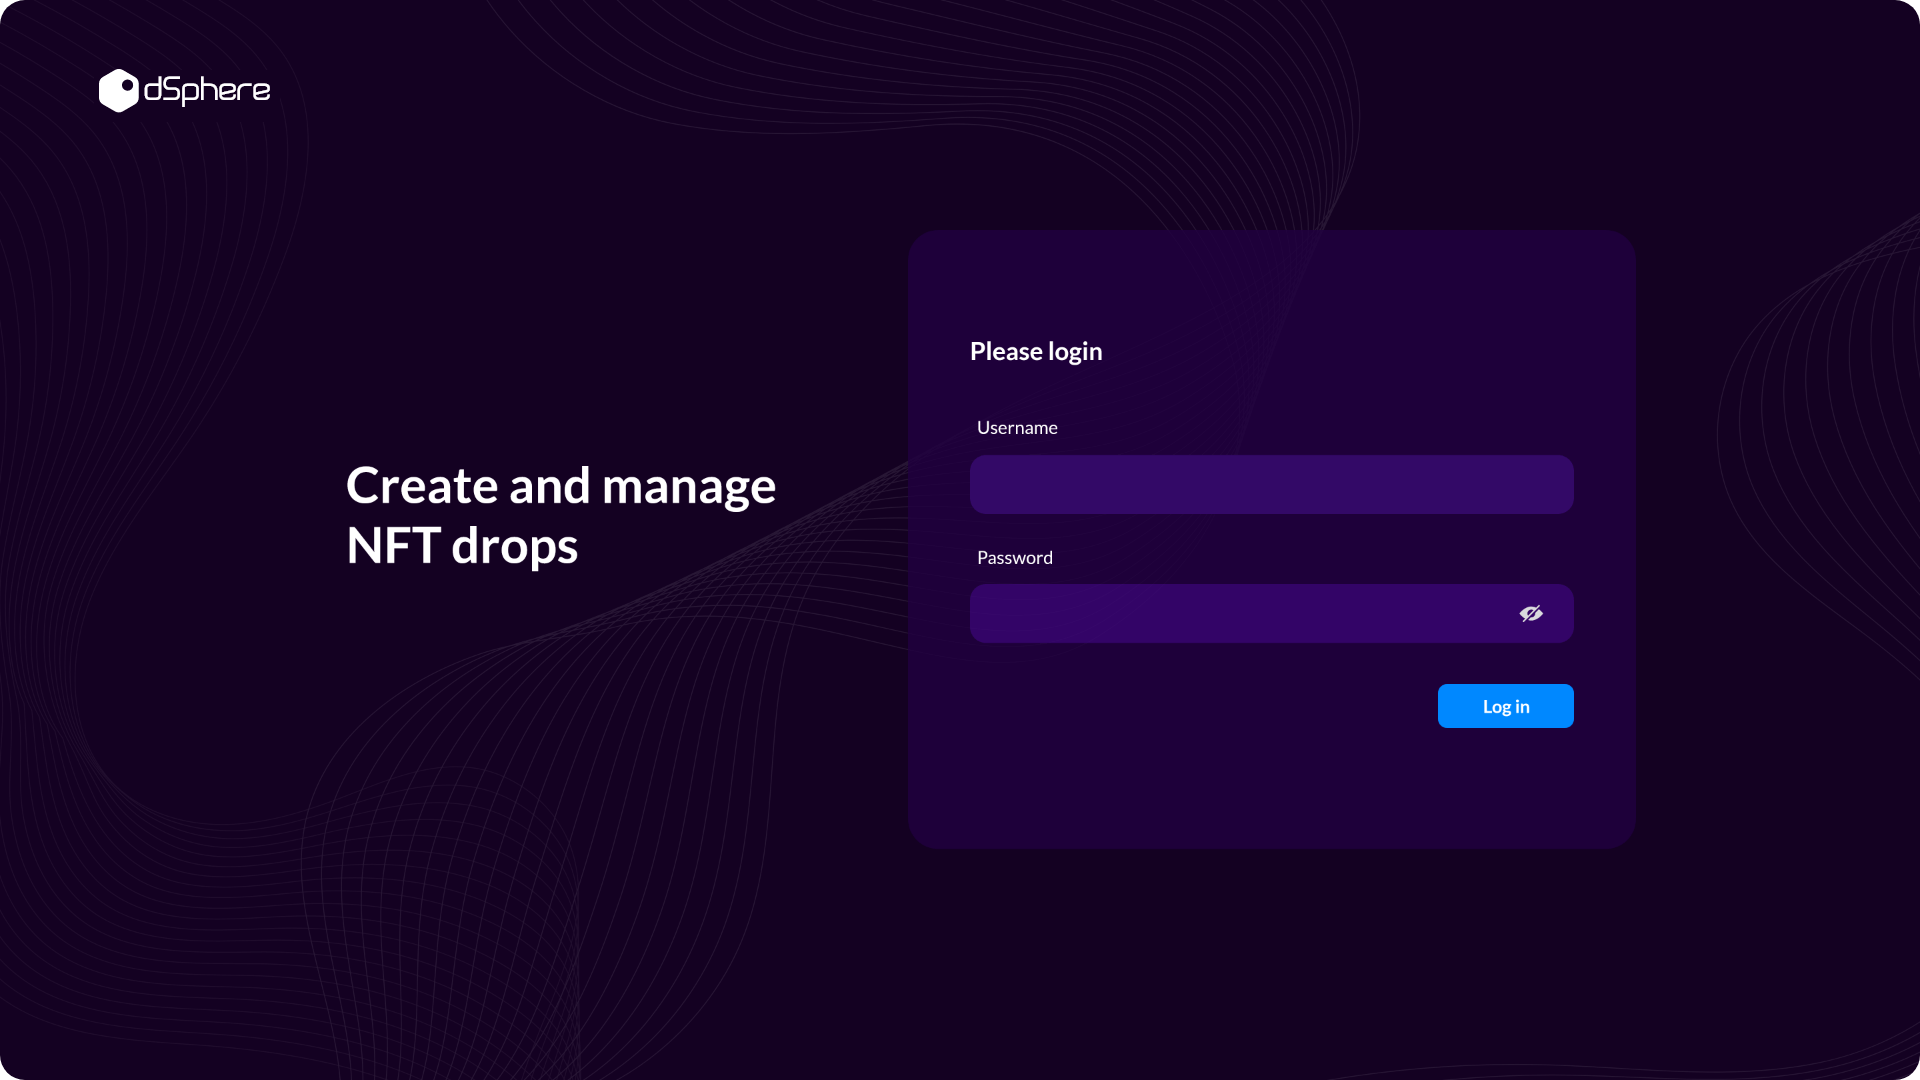
Login with your credentials
④ Upload NFT Assets
After logging in, you'll see the following screen:
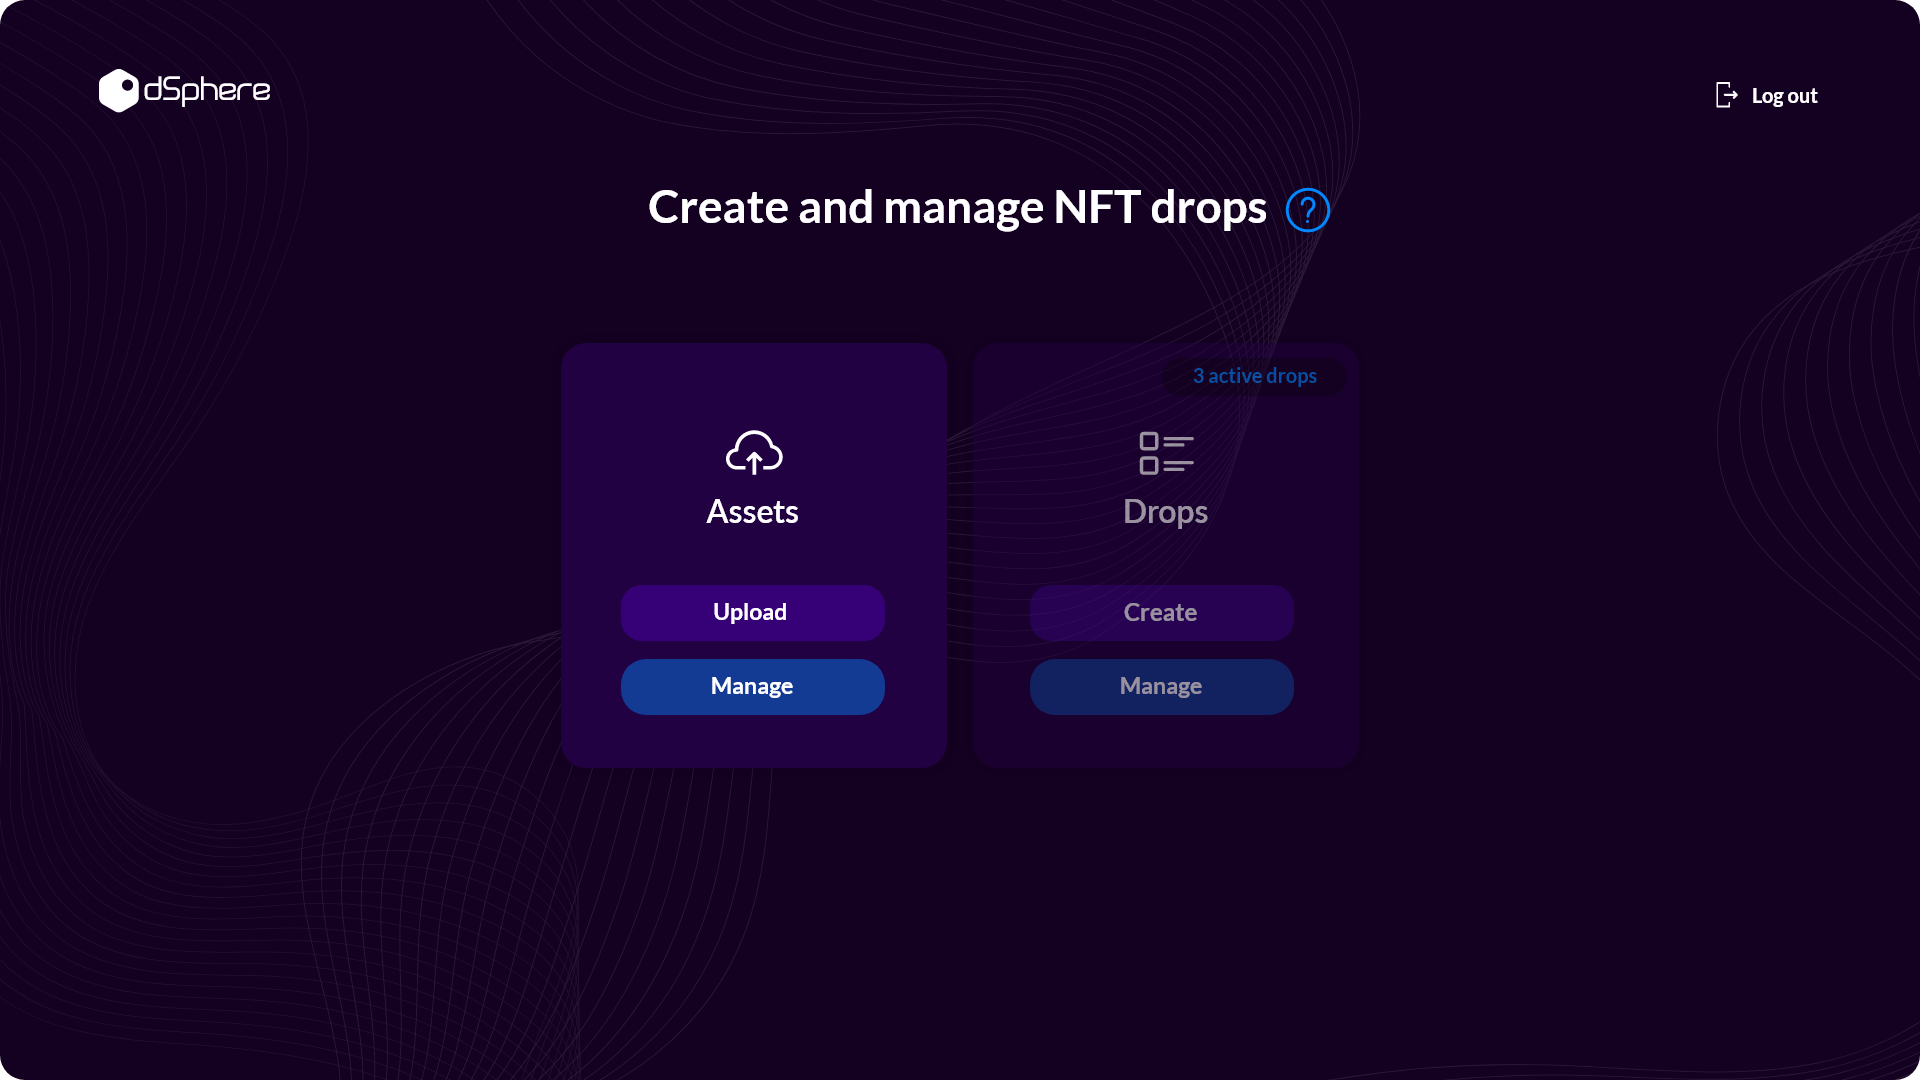
Under the Assets menu select the Upload option to start creating your new collection. When the Upload Assets menu pops up, you'll see three drop-down menus that will let you decide on the structure of your new drop.
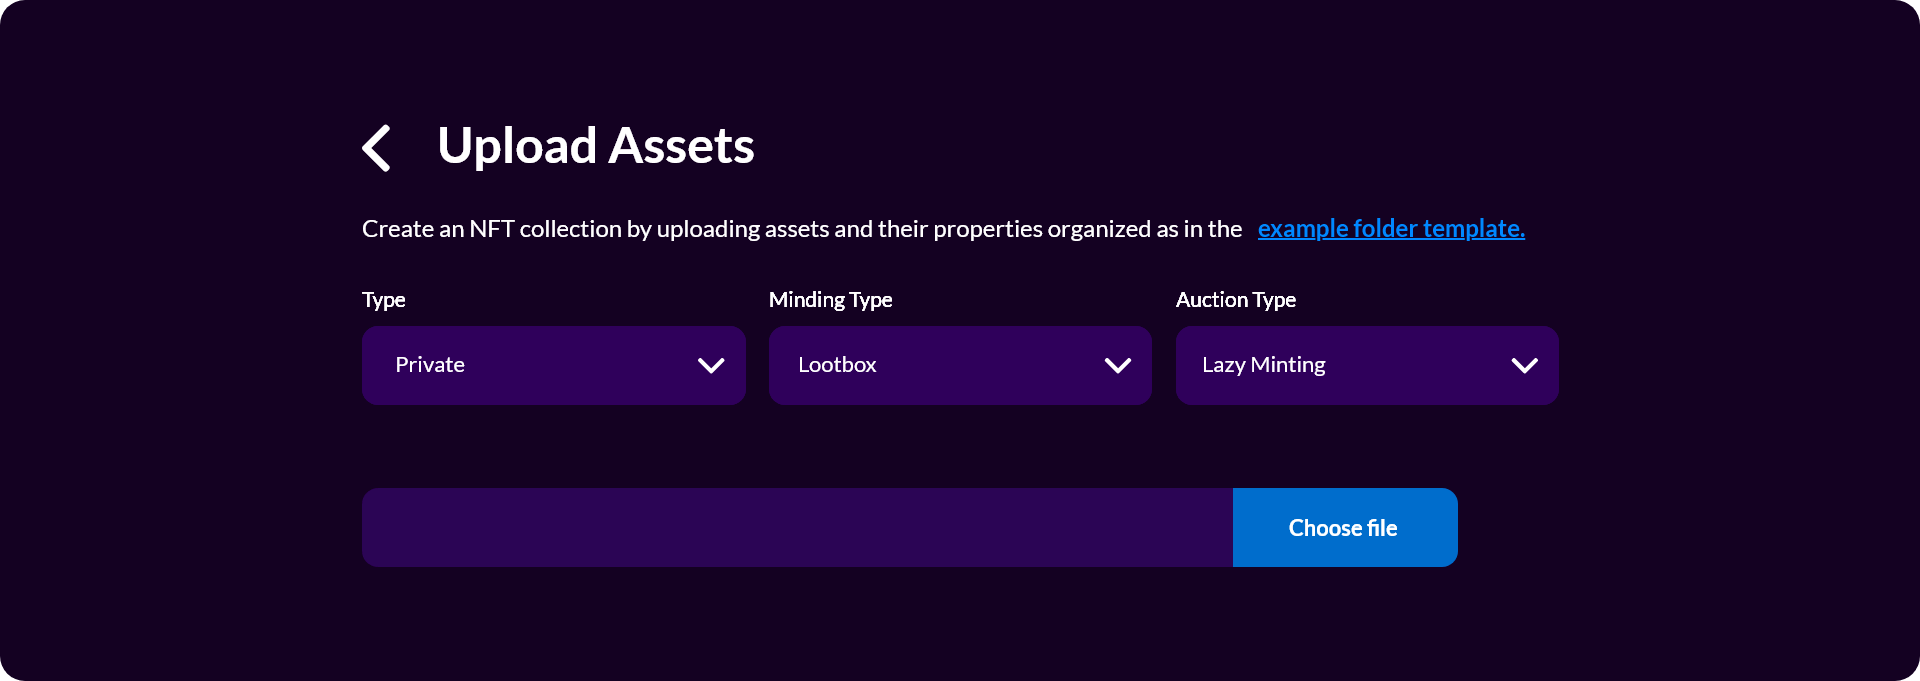
Drop Type
Private (User Specific): Generate a unique access link for each wallet address on the whitelist form (See our Whitelisting configuration section).
Private (Universal): Create a universal link that all whitelisted addresses can use to access the sale (See our Whitelisting configuration section). Public: Everybody can access the sale without restrictions (no whitelist).
Drop Mechanics
Normal: Also known as a Clear Mint sale. NFTs are revealed before the sale, and users know exactly what they will buy.
Lootbox: Also known as a Blind Mint sale. Users will receive a random (algorithmically assigned) NFT from the collection. This type of release is typically used when the collection includes NFTs of different rarity
⑤ Create a drop
- In the main menu, under Drops, press Create to configure Sale and Listing options.
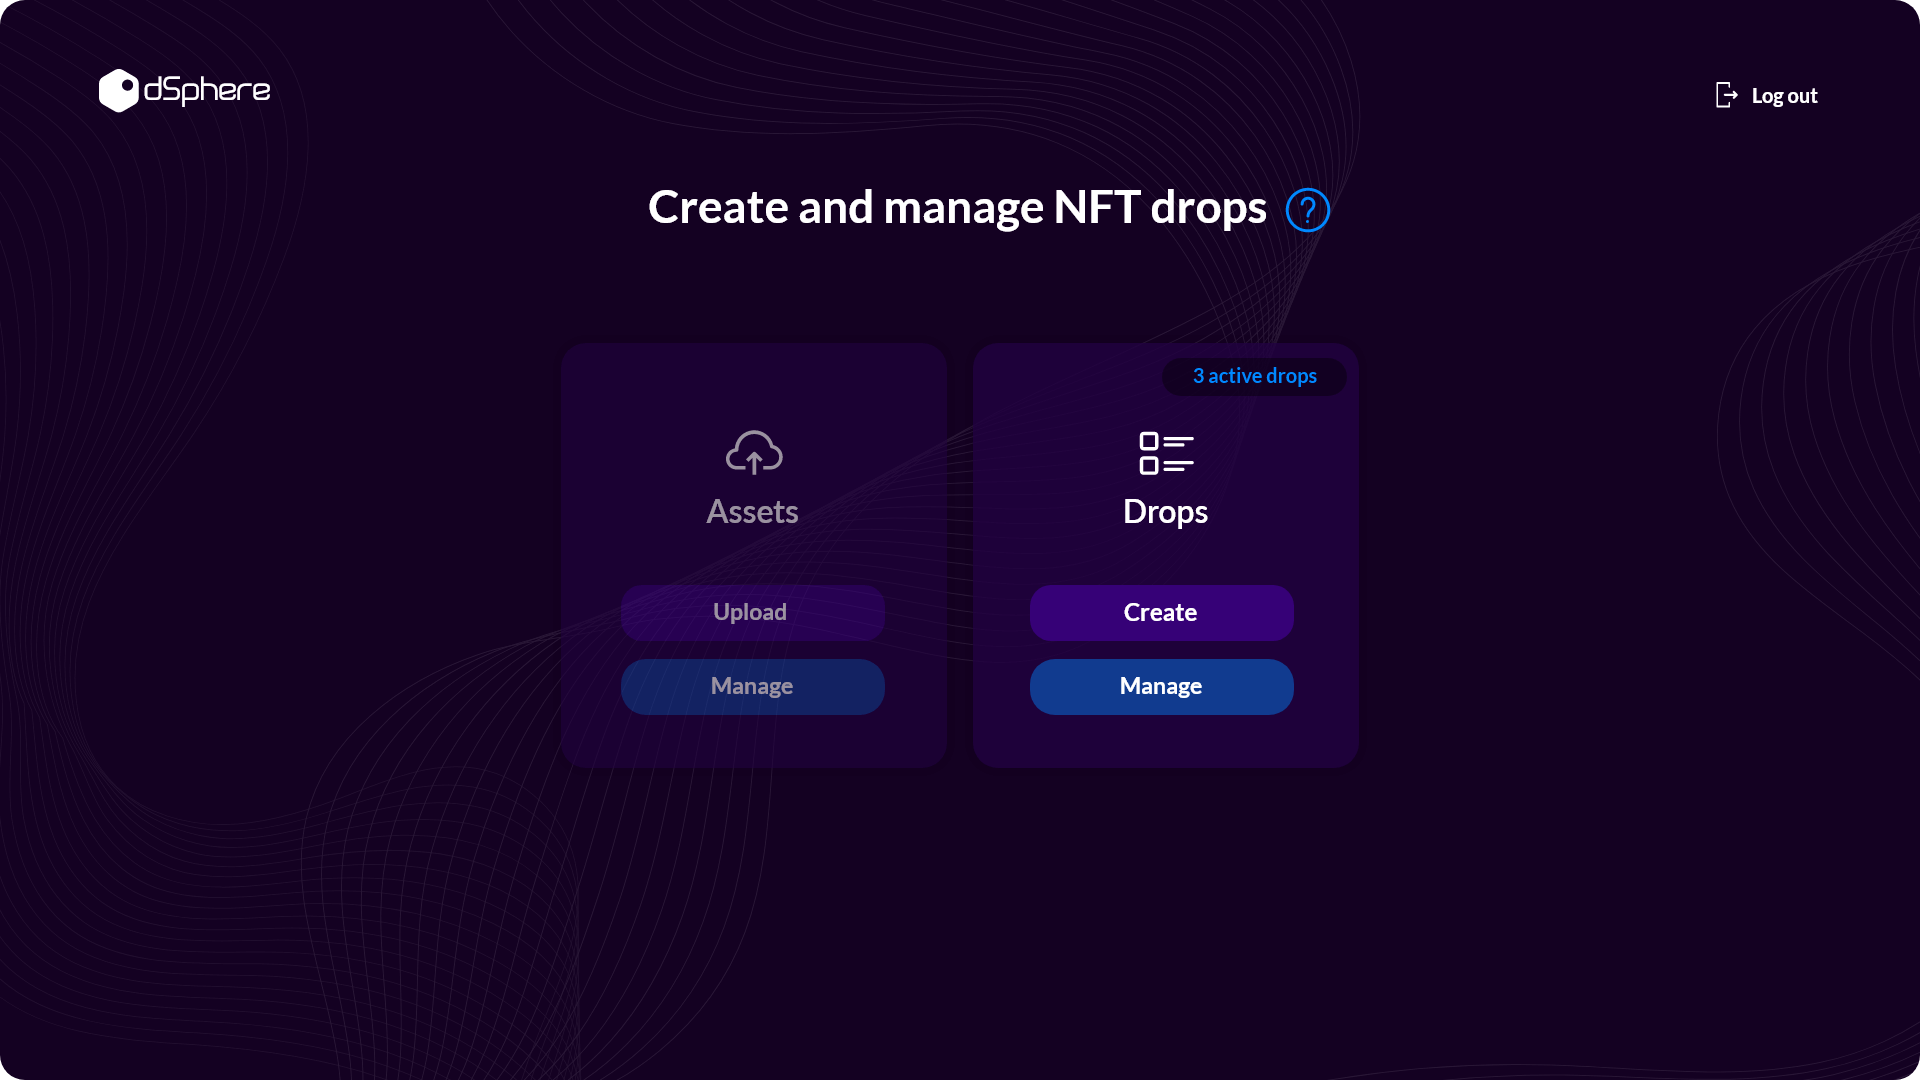
- Configure Sale
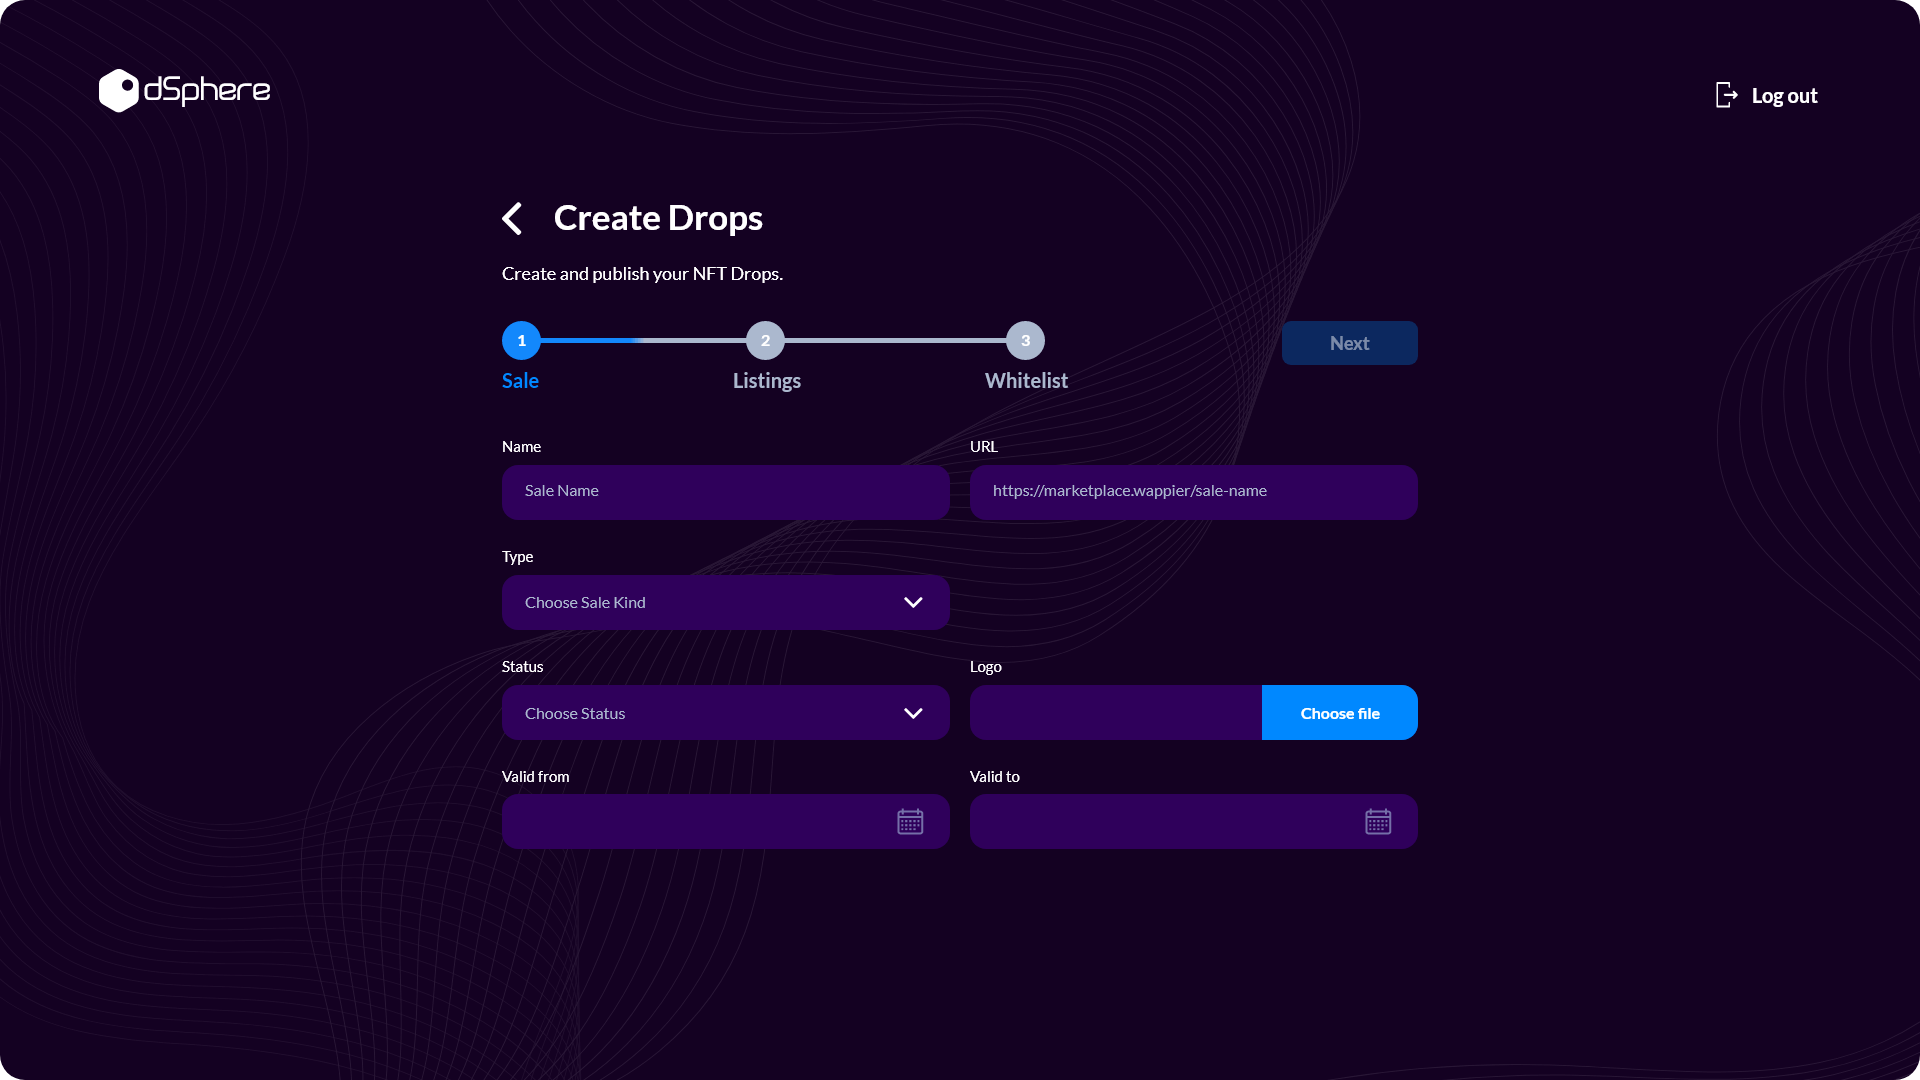
Sale Name: Choose a name for your sale
Sale URL: Configure a custom URL (e.g., https://yourwebsite.xyz/yourcustomsaleURL)
Minting Type
Lazy minting: A way of releasing NFTs without having to pay upfront gas fees. The NFTs are available off-chain and only get minted at the time of purchase (the buyer covers the cost of minting the NFT). Instant minting: The creator needs to cover the minting costs upfront, and the buyer is only paying for the NFT plus any network fees.
- Configure Listings
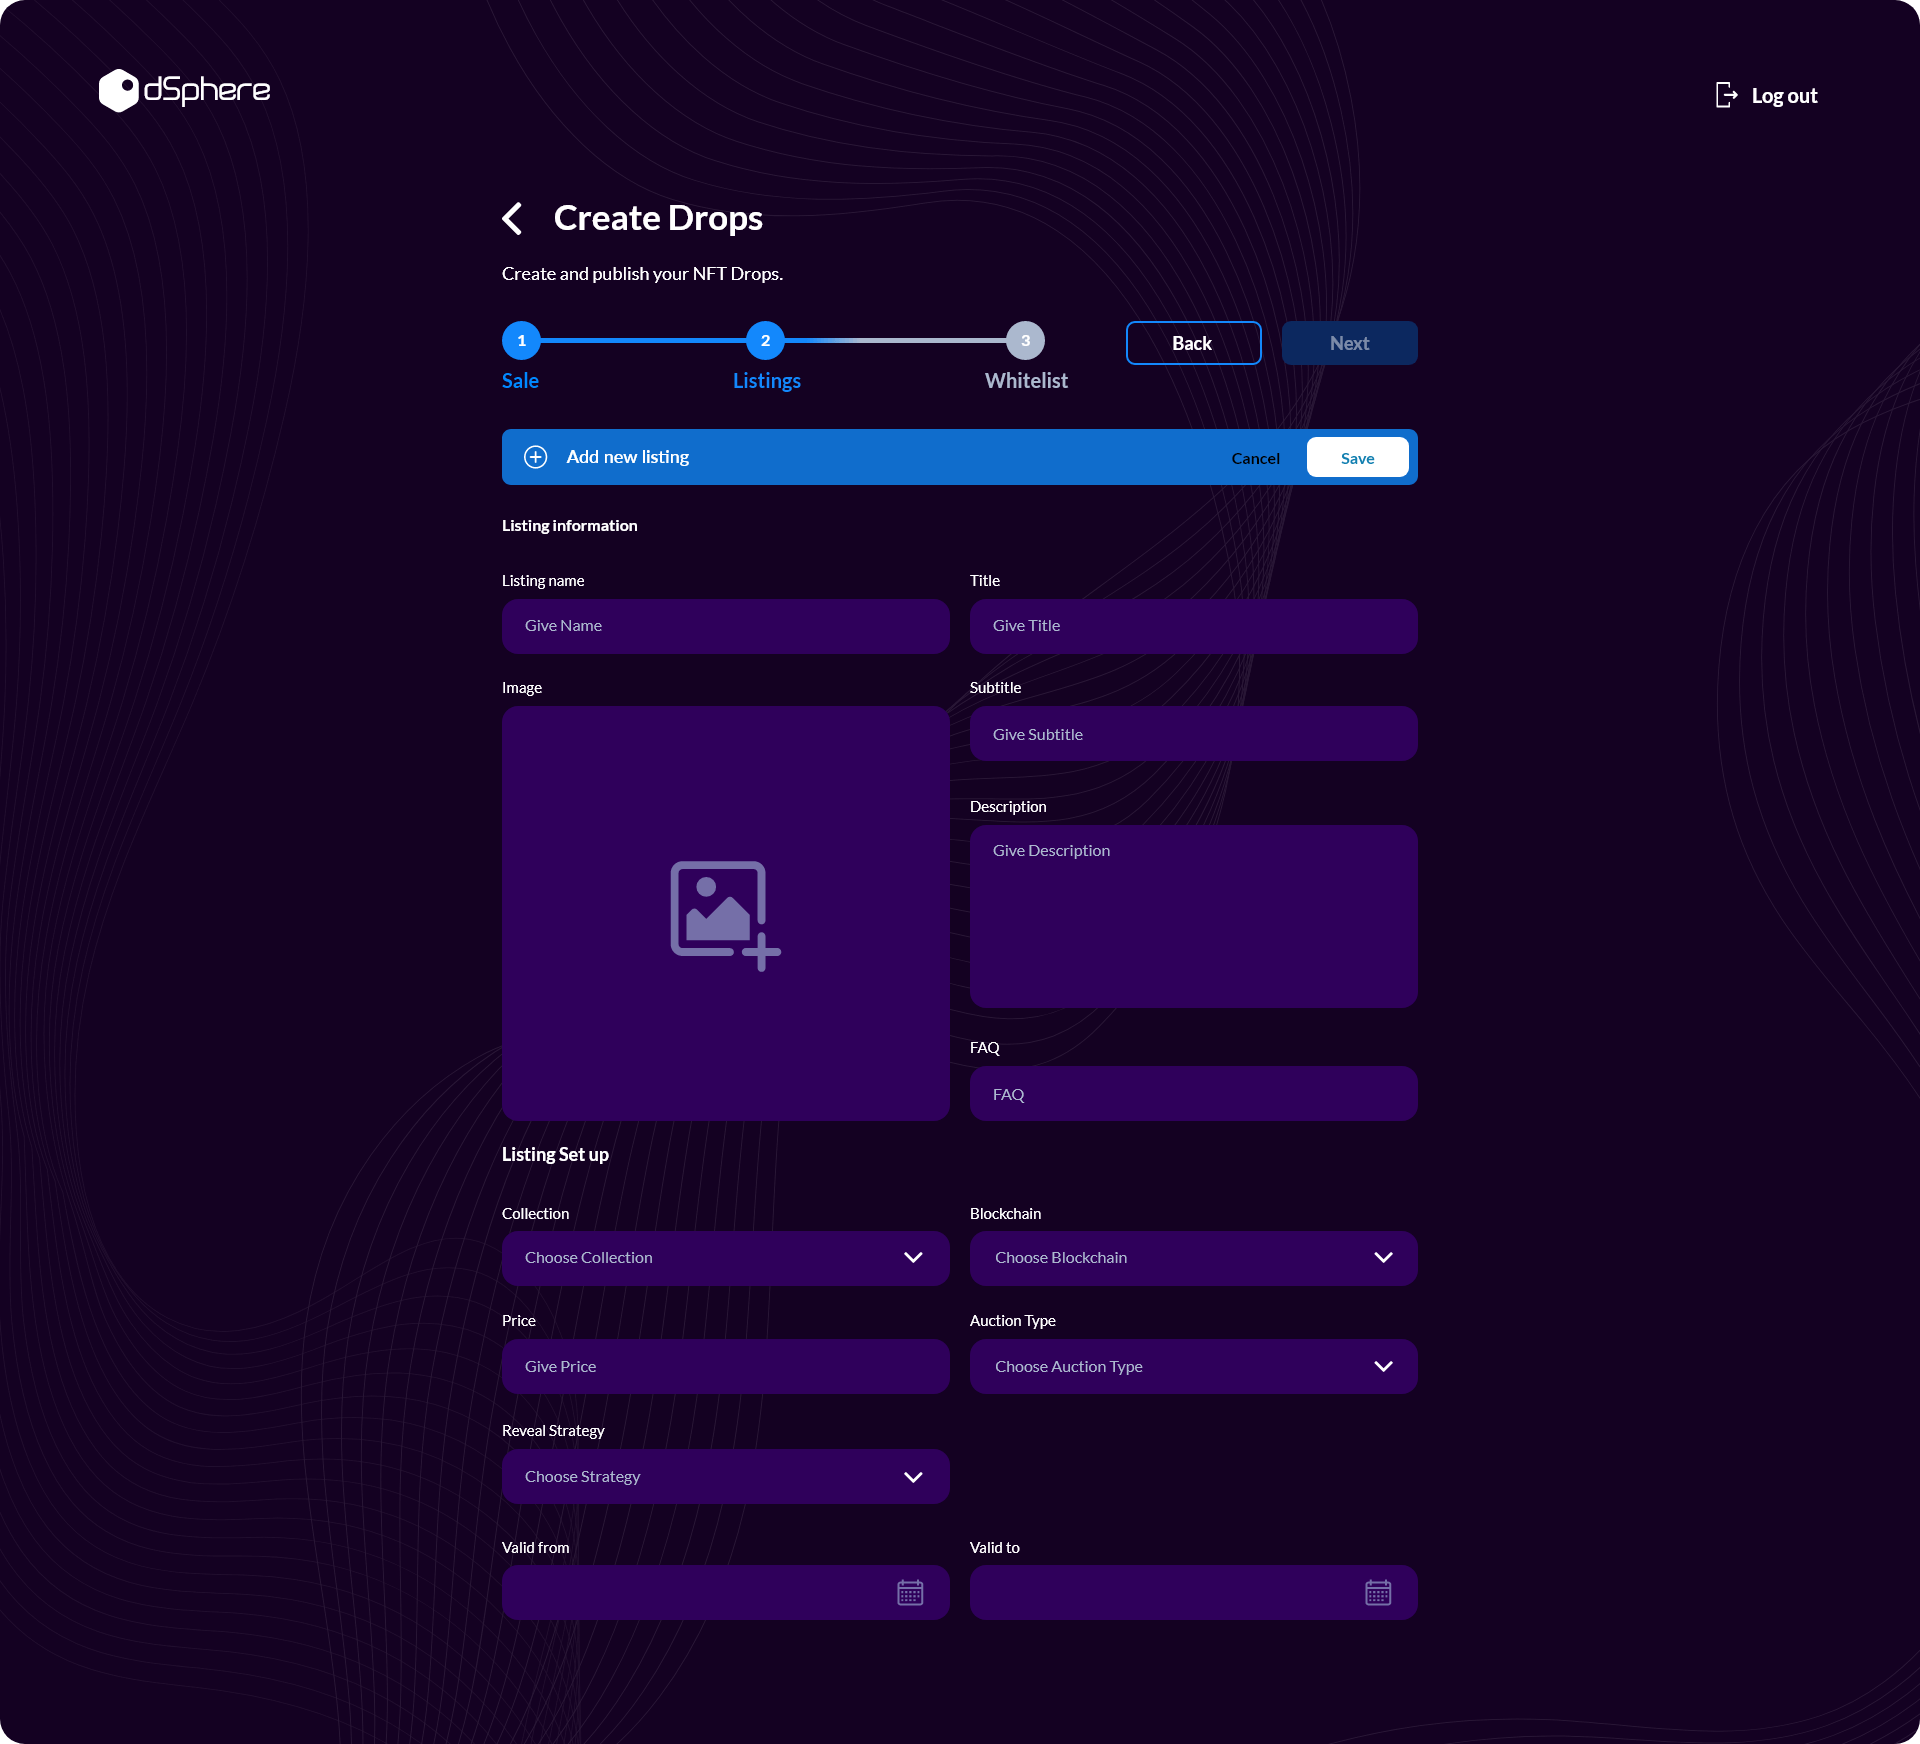
Listing Name: Write down the name of the list
Title: Write down the title
Subtitle: Write down the subtitle
Description: Add more info about your Drop (limited to 500 characters)
Image: Choose a square size for better results (1024px x 1024px)
Collection
Choose your collection
Blockchain
- Blockchains available: ETH (Ethereum), AVAX (Avalanche), SOL (Solana), MATIC (Polygon)
- Price: Define the price of your NFTs in the blockchain selected
Auction Type
- Normal: Fixed price
- English: The price of the NFT increases over time
- Dutch: The price of the NFT decreases over time
- Configure Whitelist
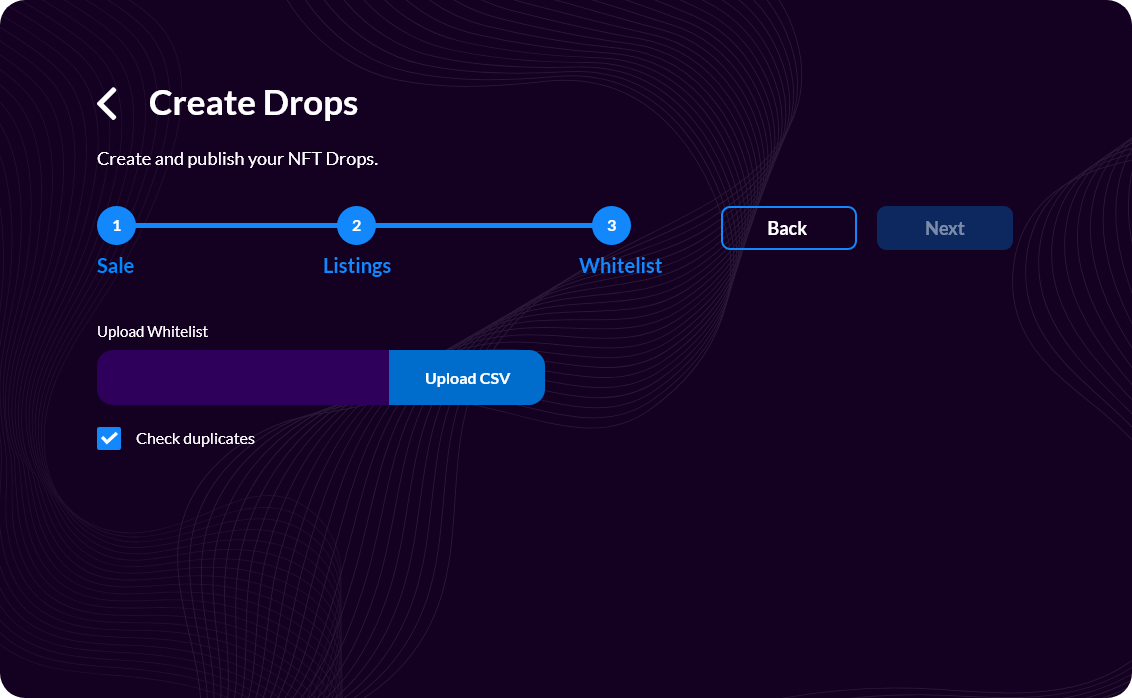
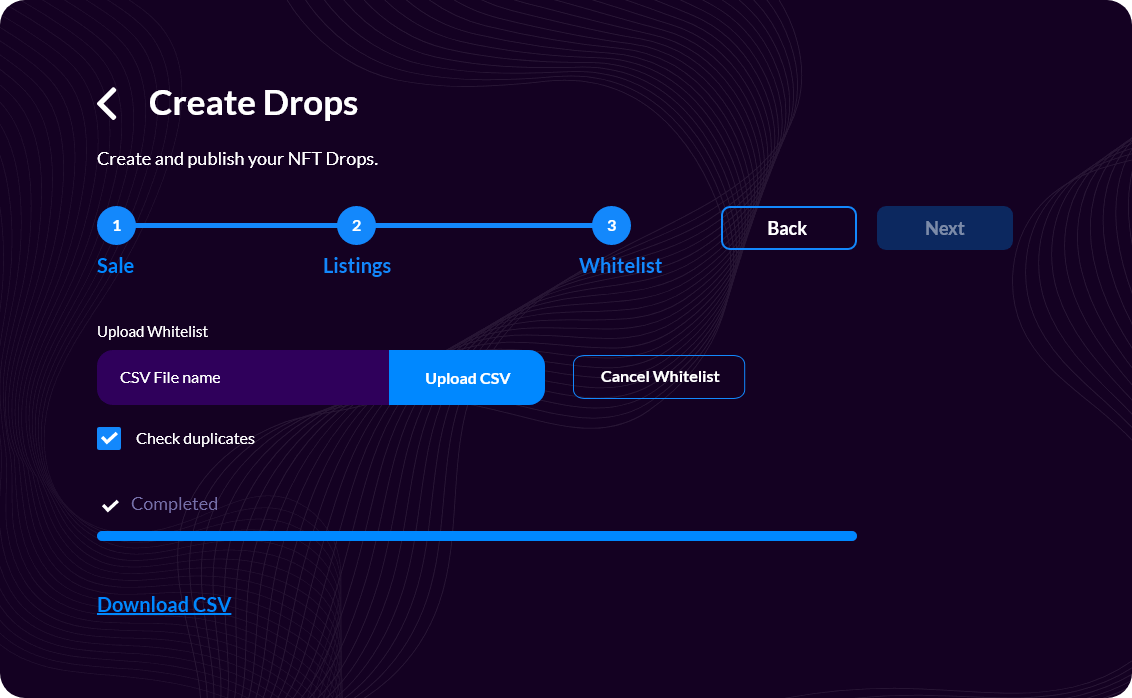
To whitelist wallets, you will need to upload a CSV file with the following info structure:
- First row: wallet_address | email | name
- Second row: walletaddress1 | email_1 | name_1
It should look something like this:
0xf253fc2ca37c078436d07fb75e5a76a649892172 | John_Doe | JohnDoe@example.com
Once filled out with the data from your whitelisted wallets, upload it and your whitelist is complete.
⑥ Manage drops
Click Manage. On the panel, find and click on a drop's link to open its landing page.
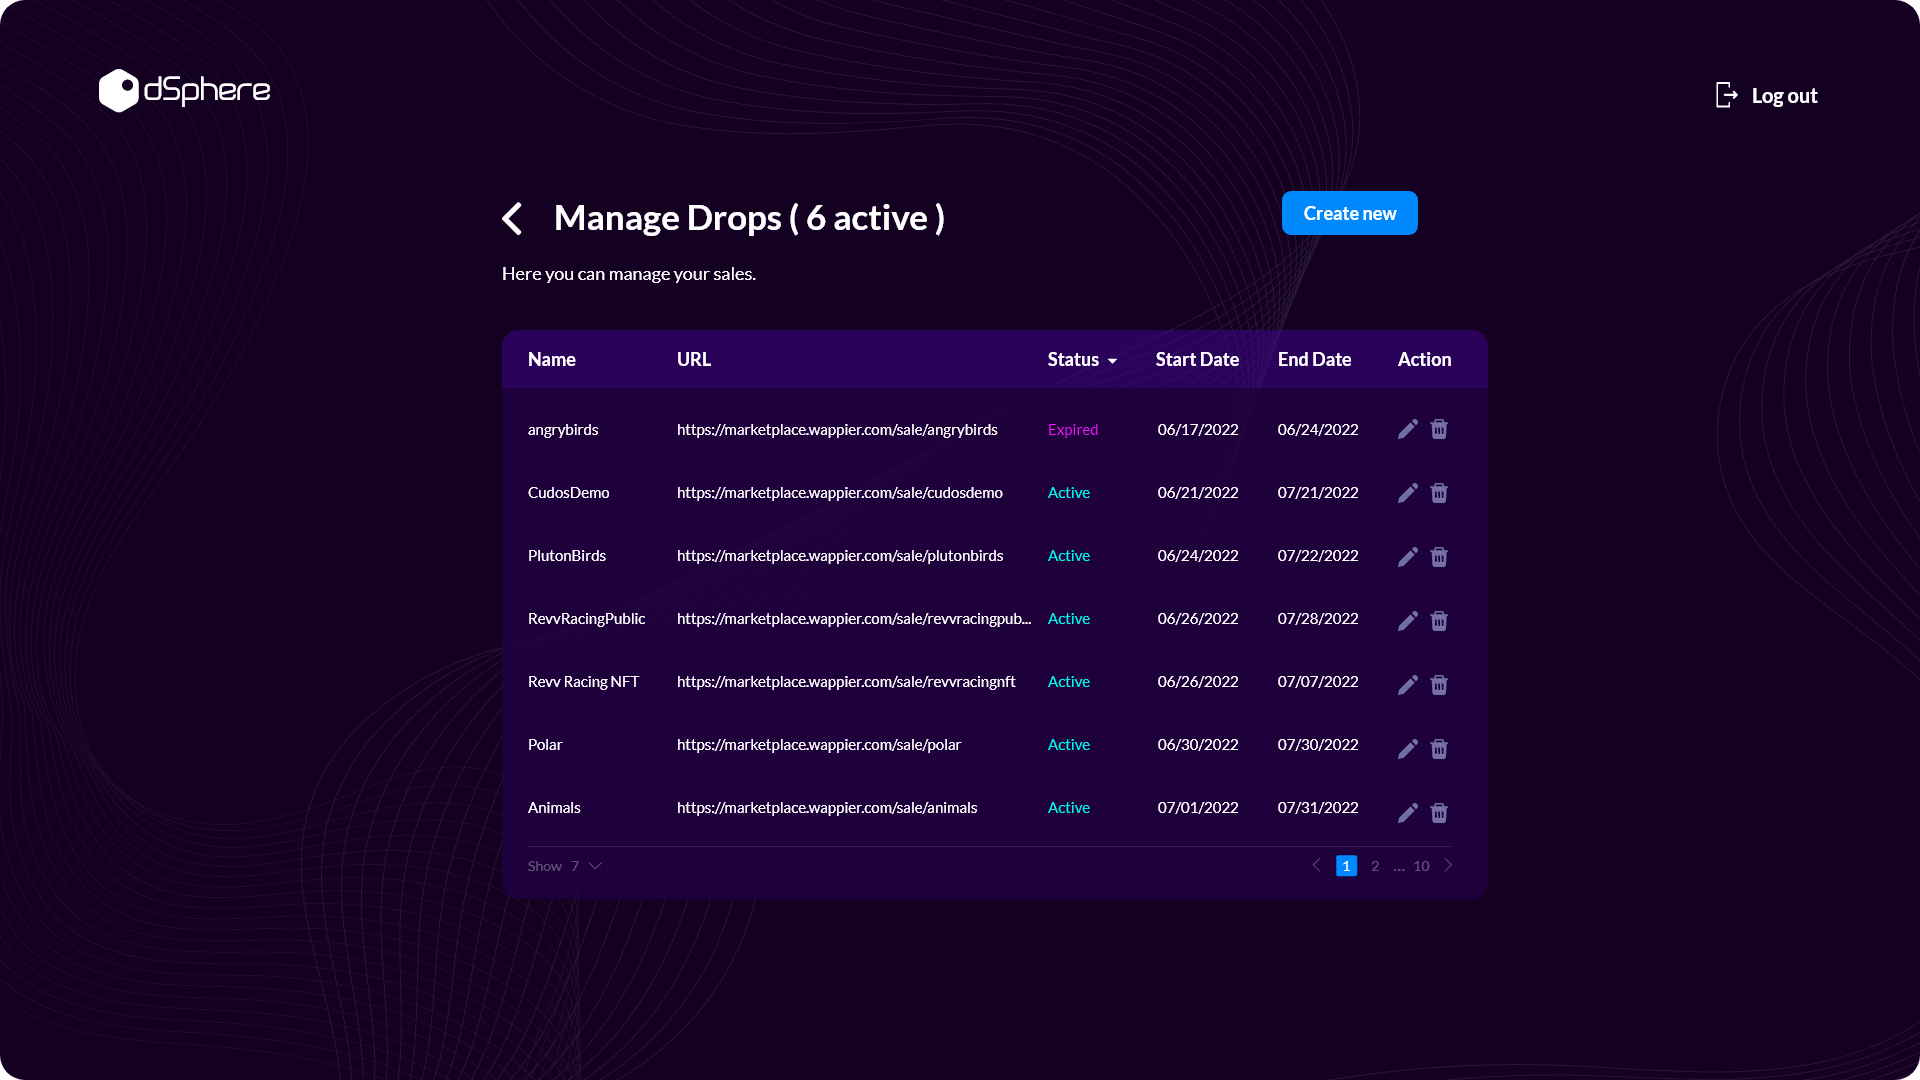
You can:
- Select the quantity of NFTs to purchase
- Purchase NFTs
- See a preview of the NFT purchased
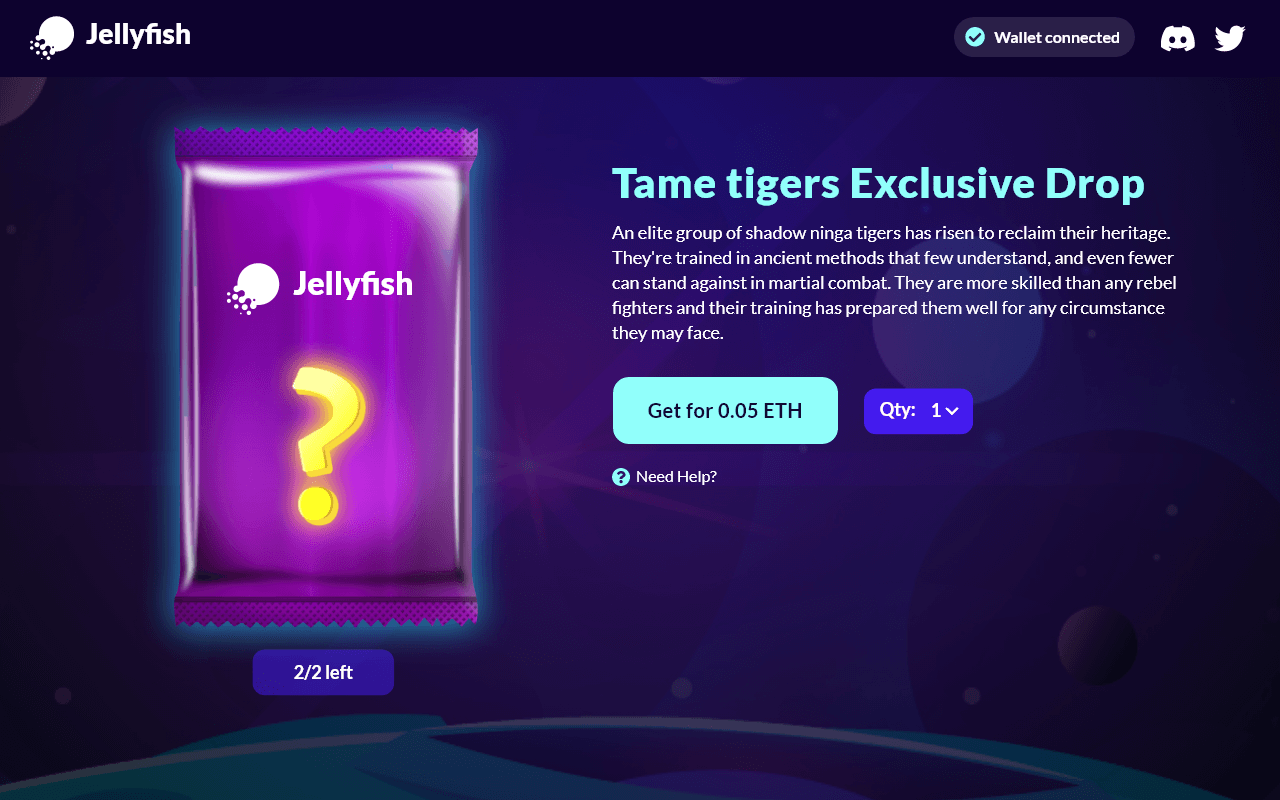
NFT Drop landing page
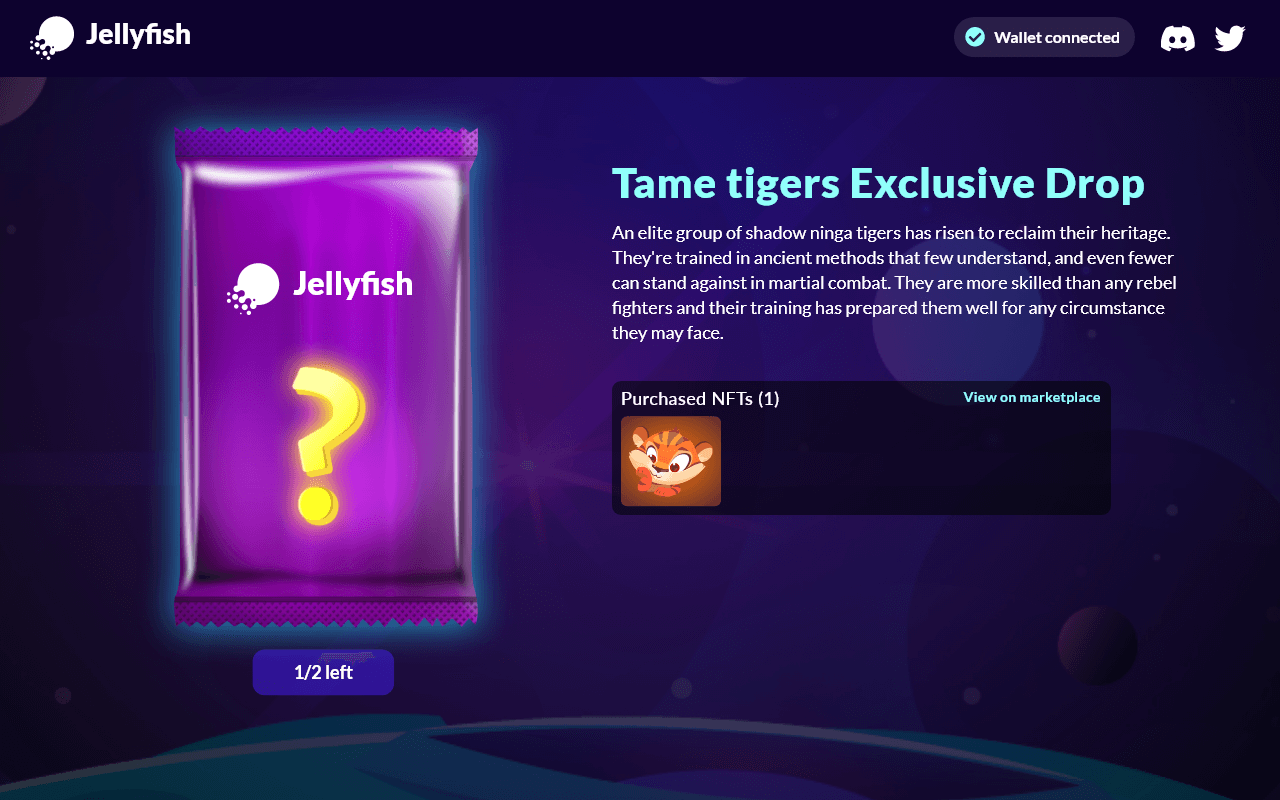
NFT purchase preview